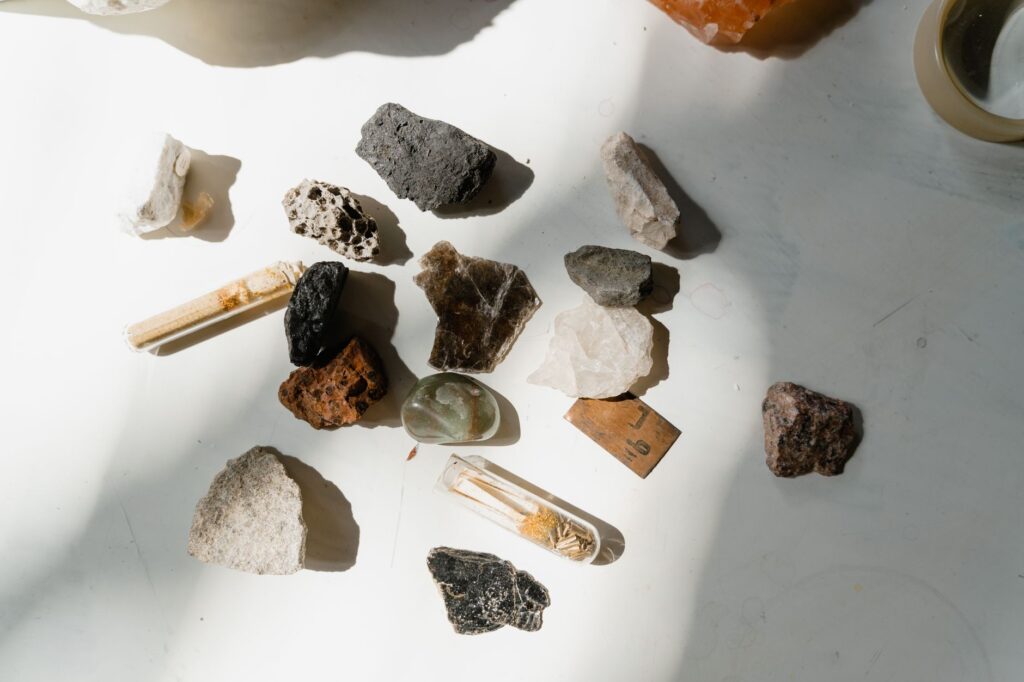
Geography and earth science courses ask students to connect what they see outdoors with processes that shape the planet—weathering, sedimentation, volcanism, metamorphism. A rock in the hand is one of the few lab objects that still comes from a real place. Naming it well is not about memorizing a poster of pretty crystals. It is about observing carefully, recording context, and checking your guess against evidence before you write it into a report.
This guide is a classroom- and field-friendly workflow for geography students and the teachers who supervise them. It covers what to notice, how to photograph specimens, and how a free browser tool can give a quick first pass between a field stop and a deadline.
Why rock ID belongs in geography education
Physical geography is not only maps and climate graphs. Lithology controls drainage, soil type, slope stability, and land use. Basalt weathers differently from limestone. Granite and sandstone leave different landscapes after the same rainfall. When a student can say “this ridge is quartzite, so it resists erosion more than the shale valley next to it,” they are doing geography, not trivia.
Mineral and rock identification also trains scientific habits: separate observation from interpretation, note uncertainty, and revise when new evidence appears. Those habits transfer to lab reports, map interpretations, and exam short answers.
Start with permission, place, and process—not a name
Before any app or textbook key, answer three questions.
1. Are you allowed to collect or move the specimen? National parks, private land, school grounds, and many protected sites ban or restrict collecting. Photographing in place is almost always the safer educational choice. If your assignment requires a physical sample, use teacher-provided kits or legal teaching collections.
2. Where did it come from? Write down locality at the level your assignment allows: trail name, road cut, river bar, campus garden, or “classroom tray—unknown provenance.” Geology without place is half-blind. Even a rough note—“stream cobble below limestone cliffs”—narrows the plausible rock types.
3. What process story fits the landscape? Igneous textures suggest cooling from melt. Bedding and fossils suggest sediment. Foliation and stretched grains suggest heat and pressure. Your photo later should support that story, not replace it.
A five-minute observation checklist students can use
Train yourself to spend a few minutes looking before you decide. Use natural light when possible; avoid harsh phone flash that washes out color.
Rock vs mineral: Is this a mixture of grains (a rock) or a single crystal substance (a mineral)?
Color and streak of color: Note the overall color and any fresh-surface color if a broken edge is already visible. Do not smash samples on school trips.
Luster: Metallic, glassy, dull, greasy, or pearly?
Texture: Coarse crystals you can see, fine-grained, glassy, vesicular (holes), clastic (cemented fragments)?
Structure: Layering, banding, cleavage planes, fossils, vesicles, phenocrysts in a finer groundmass?
Hardness clues (careful): Does a fingernail, copper coin, or steel key scratch it? Only test if allowed and on a scrap edge.
Density feel: Surprisingly heavy or light for its size?
Reaction risk: Do not pour acid on samples unless a supervised lab procedure says so.
Write these notes in the same phone file as the photos. A wrong name with good notes still teaches you. A lucky name with no notes teaches almost nothing.
How to photograph rocks so identification is possible
Phone cameras are excellent for classroom rock work if you shoot with intention.
1. Clean gently. Brush loose dust with a soft cloth. Do not scrub coatings that are part of the rock’s story (desert varnish, lichen) unless your teacher asks.
2. Use scale. Place a coin, ruler, or pencil in the frame so grain size is readable.
3. Shoot multiple angles. One overall view, one close-up of texture, one of a fresh edge if already broken, and one of the outcrop or tray context.
4. Watch the light. Side light reveals relief; overhead midday sun can flatten everything. Shade is often better than direct sun for color.
5. Keep EXIF or a caption. Date, place, and “wet/dry surface” help later. Wet surfaces darken color—say so in your notes.
These habits matter whether you use a key, a classmate, a teacher, or a digital helper. Garbage photos produce garbage suggestions.
Getting a fast first-pass ID from a photo
Paper dichotomous keys remain valuable, especially in exams where phones are banned. Outside that constraint, a browser-based identifier can compress the “what family might this belong to?” step. One practical option for homework and field follow-up is a free tool that gives you rock ID from a photo: you upload or capture an image in the browser, without creating an account, and receive suggested rock, mineral, or crystal matches. Expect roughly three free identifications per day, which is enough for a lab tray or a short field stop if you choose your best photos carefully.
Treat the result as a hypothesis, not a final grade. Cross-check the suggestion against your checklist: Does the texture match? Does the landscape make sense? Would your textbook’s local geology chapter even list that rock nearby? If the tool says “obsidian” and you are standing on a limestone reef trail with no volcanic history in the region guide, dig deeper—or ask your teacher.
Turning an ID into a geography answer, not a label
Once you have a candidate name, push one step further for your write-up.
Classify: Igneous / sedimentary / metamorphic (for rocks), or mineral group if that is the task.
Explain formation briefly: Cooling rate, depositional environment, or metamorphic grade in one or two sentences.
Link to place: How does this rock type shape the local landform, soil, water chemistry, or human use?
State confidence: “Likely sandstone based on visible grains and bedding; tool suggestion agreed” is stronger science writing than a bare noun.
Teachers grade reasoning. A confident wrong name without evidence scores worse than a cautious, well-supported tentative ID.
Common mistakes that waste free IDs and marks
Blurry close-ups with no scale
Treating concrete, slag, brick, or jewelry as natural minerals without noting they are human-made
Ignoring regional geology and naming rocks that never occur in your field area
Submitting only a tool label with no observations or photos
A simple end-to-end student routine
1. Observe and write the checklist.
2. Take three careful photos with a scale.
3. Form your own best guess from class notes or a key.
4. If allowed, run one clear photo through a free browser identifier for a second opinion.
5. Reconcile disagreements in writing, then submit photos, notes, classification, and geographic significance together.
That loop builds the skill geography courses want: reading Earth’s materials in context. Apps and keys are assistants. Your eyes, notes, and willingness to stay uncertain until the evidence lines up are the real instruments.